Using the Sense-i Gateway Application
Introduction
The Sense-i Gateway allows you access to the various Sense-i applications and connect to the relevant database(s).
This step-by-step guide will show you how to use the Sense-i Gateway application.
The buttons & links displayed on the images in this guide are NOT ACTIVE and soley used for reference purposes.
If you are continuing with the process directly from the previous document, the program will display the Sense-i Gateway Home screen.
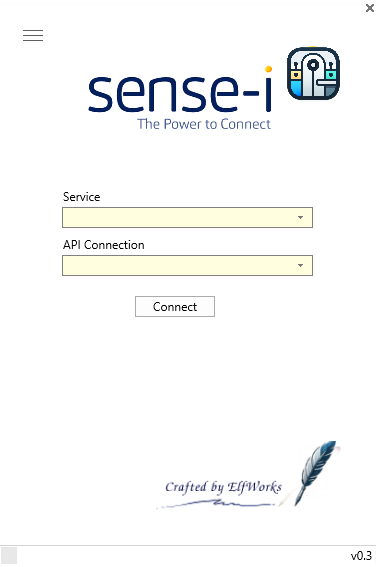
Alternatively, if you are not continuing directly from the previous step, you will need to open the Sense-i Launcher by clicking on the Sense-i Launcher shortcut icon on your desktop;
How to Set Up the Connection
There will be no SEMS connections available when using the Sense-i Gateway for the first time.
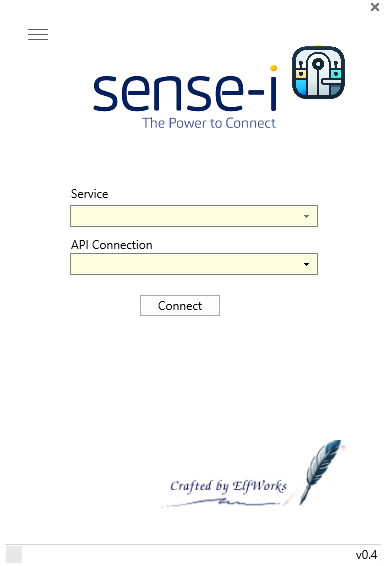
If your company subscribes to the Sense-i Enterprise Management System (SEMS) software applications, you will receive a SEMS Connection email containing the connection string information, with the relevant SEMSconnect.Json file attached.
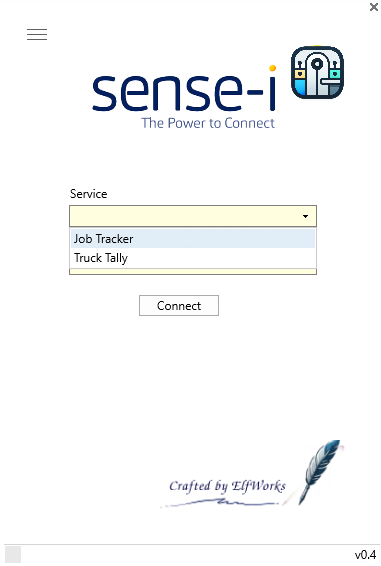
- Select the option of Job Tracker in the Service dropdown menu.
- Click on the Connect option.
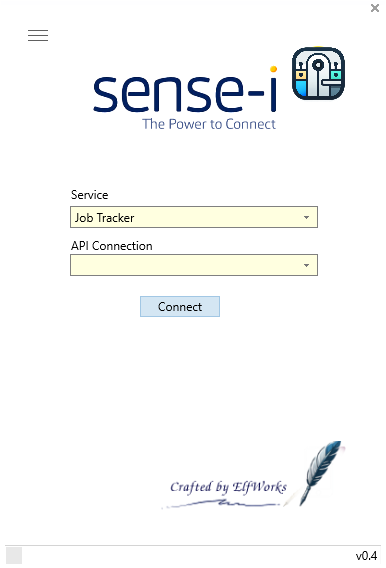
A Confirmation dialogue box is displayed.
- Click on the Yes option.
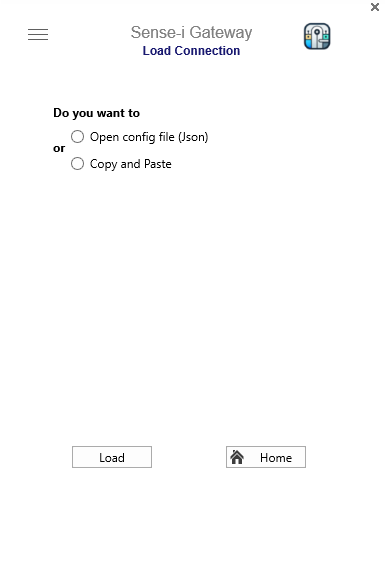
The Load Connection screen is displayed, with the following radio-button options available:
- Open config file (Json)
- Copy and Paste
Load Connection - Open config file (Json)
When using this option, it is important to know the location of the SEMSconnect.Json file.
From your SEMS Connection email, save the attached SEMSconnect.Json file to the C:\SEMSGATEWAY\Connection\ sub-directory on your computer,
Alternatively, obtain the Local Area Network location of the SEMSconnect.Json file from your SEMS Administrator.
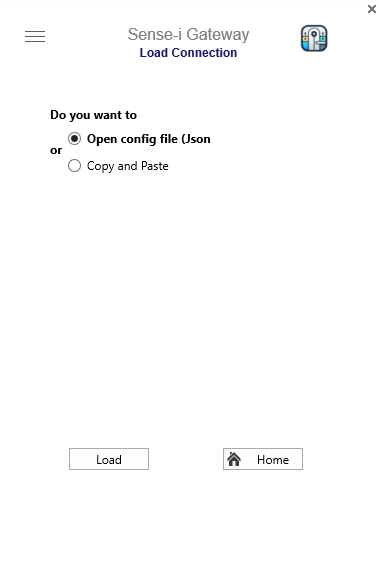
-
Click on the Open Config file (.Json) radio-button.
-
Then click the [ Load ] button.
The MS Windows File Explorer is displayed.
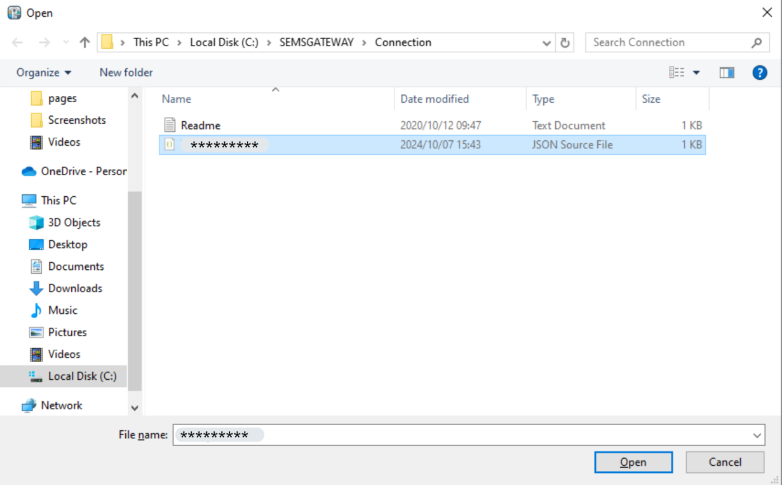
- Locate and [ Open ] the relevant .Json file.
A pop-up box confirming database and connection type will appear.
- Select [ Yes ] to load the desired connection(s).
Usually the company would have two databases:
- The TEST Database (DB) which is used for training, practice and testing purposes.
- The LIVE DB where the actual daily work is done.
The Database Servers can be connected to in two ways:
- Local Area Network (LAN) connection - this when the Database Server is on same LAN, e.g. Office network.
- Remote connection - this when the database server is accessed remotely, e.g. via the internet.
Therefore, there could be 4 connection options available:
- Remote connection to the LIVE database
- Remote connection to the TEST database
- Local connection to the LIVE database - same LAN as that of the Database Server
- Local connection to the TEST database using the local network to connect to the Database Server.
Once the relevant connection(s) have been loaded, an Information dialogue box is displayed.
- Click the [ Ok ] button.
The Load Connection screen is now active again.
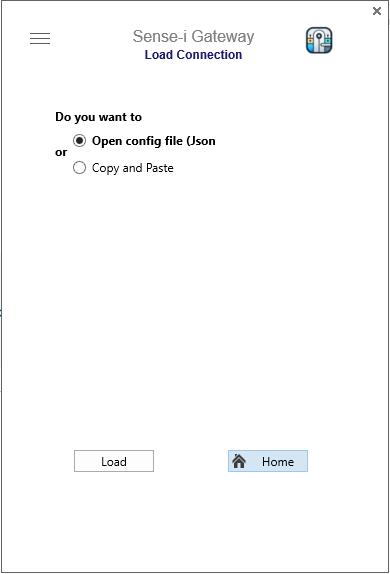
- Click on the [ Home ] button to return to the main screen.
If you used the above method to Load Connection(s), you can skip to the Home Page - Ready to Connect section of this document.
Load Connection - Copy and Paste
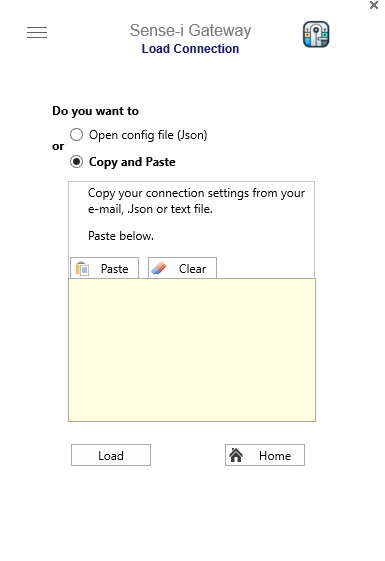
Selecting this option will enable you to copy the relevant settings from:
- an e-mail message,
- an exsisting .Json file or
- an appropriate text file.
These connection settings can be obtained from your SEMS System Administrator.
- To set up a connection, SELECT the connection string information from:
- your SEMS Connection email, or
- an exsisting SEMSconnect.Json file, or
- an appropriate text file.
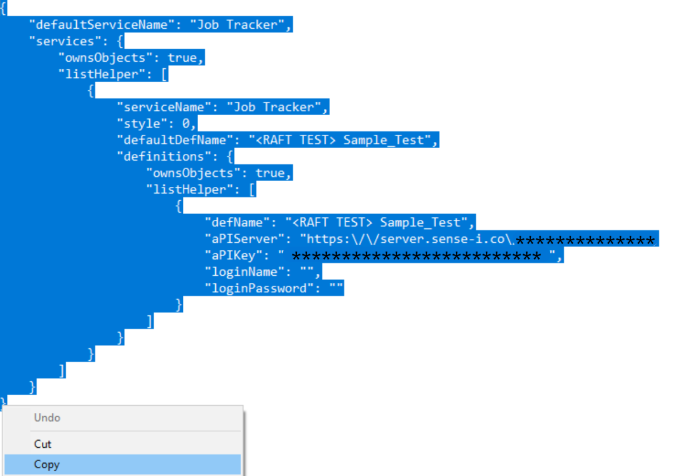
- Then right-click the mouse button and choose the Copy option.
Return to the Sense-i Gateway application and click the [ Paste ] button. .
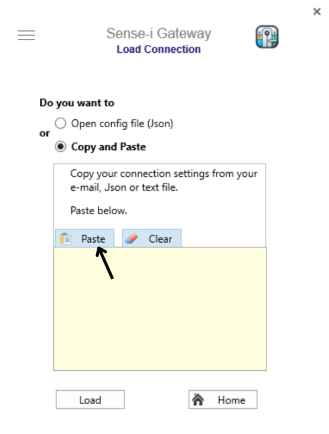
The connection settings now appear in the text box field.
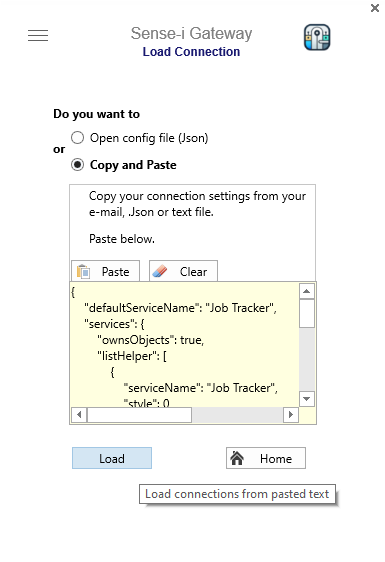
- Click the [ Load ] button.
A pop-up box confirming database and connection type will appear.
- Select [ Yes ] to load the desired connection(s).
Once the relevant connection(s) have been loaded an Information dialogue box is displayed.
- Click the [ Ok ] button.
The Load Connection screen is now active again.
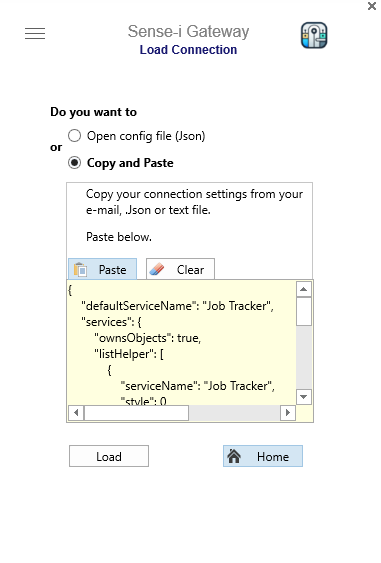
- Click on the [ Home ] button to return to the main screen.
Home Page - Ready to Connect
Once the connections have been loaded, Sense-i Gateway is ready to connect to the chosen database.
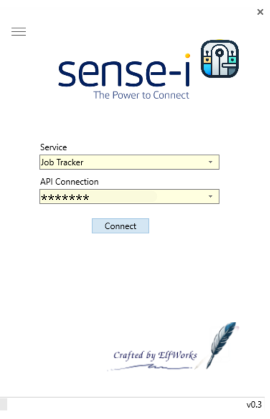
- Click on the [ Connect ] button.
The application will now download and launch the Sense-i Enterprise Management System (SEMS) using the relevant connection options.
Sense-i Gateway will automatically download the latest version of the SEMS application.
This download process will only occur again when the SEMS application and Database is upgraded.