Allocate Supplier Payments (SAF-4054)
Step-by-step Guideline
This procedure describes how you can record details of payments that have been made to suppliers in the Sense-i System so that the reports displaying outstanding supplier balances and cash flow reports are accurate.
-
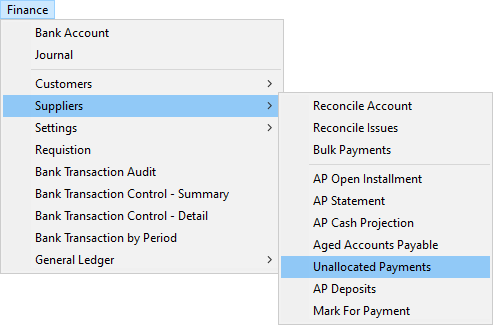
Click on the Finance item on the Main Menu.
-
Click on the Suppliers item on the Drop Down Menu.
-
Then select the Unallocated Payments option from the Side Menu.
The system will display the Unallocated Accounts Payable screen. This screen lists all of the payments that have been made against supplier accounts but that have not yet been allocated to outstanding instalments.
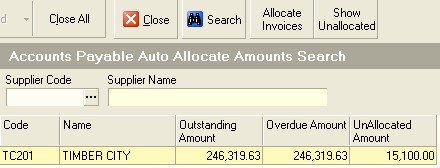
To process unallocated payments you will need to work through each of the items in this list by opening the unallocated payment, selecting the invoices to which to apply the payment and then either automatically or manually allocating the payment amount to each outstanding instalment.
-
Click on the first unallocated payment you wish to process.
-
Click on the Allocate To Invoices button.
The system will return you to the Auto Allocate Payments screen.
The system will display the name of the selected supplier in the Supplier Name field and the total unallocated amount that is available to be allocated to open instalments in the Available Amount field.

- To allocate the available amount click the Select Invoices button on the form bar.
The system will open Accounts Payable Installment Screen. This screen lists all of the invoices that have been received from the selected supplier that are either completely or partially unpaid.
For more information on how to use Open Installment please read the procedure titled "Open Installments".

-
Click on the instalment to which you wish allocate the saved payment in the grid. To select more than one instalment, hold down the Control key on the key board and then click on the invoices you wish to select. You can also select many instalments that are displayed one below the other by clicking on the first instalment, then holding down the shift key and then clicking on the last invoice. The system will mark the rows for all the instalments you have selected in yellow.
-
Once you have selected the instalments to which you wish to allocate the payment, click on the Select button.
The system will return you to the Auto Allocate Payments screen and display the instalments you have selected in the grid.

-
You can apply specific amounts from the overall payment to each invoice by typing the amount you wish to apply to each invoice in the Applied Amount field. To move the cursor to the next invoice, simply press the down arrow on the keyboard and the system will select the next invoice in the list.
-
You can also enter the amount of discount you wish to apply to each invoice by typing this amount in the Applied Discount field.
-
The system can automatically apply the amount of the payment you have saved to each invoice from the oldest invoice to the most recent. To do this, simply click the AutoAllocate button on the form bar. Note that if the terms for the supplier have been set-up correctly the system will calculate the discount on each invoice and take this into consideration when applying the payment.
-
To remove an invoice from the list click the UnLink button on the form bar.
-
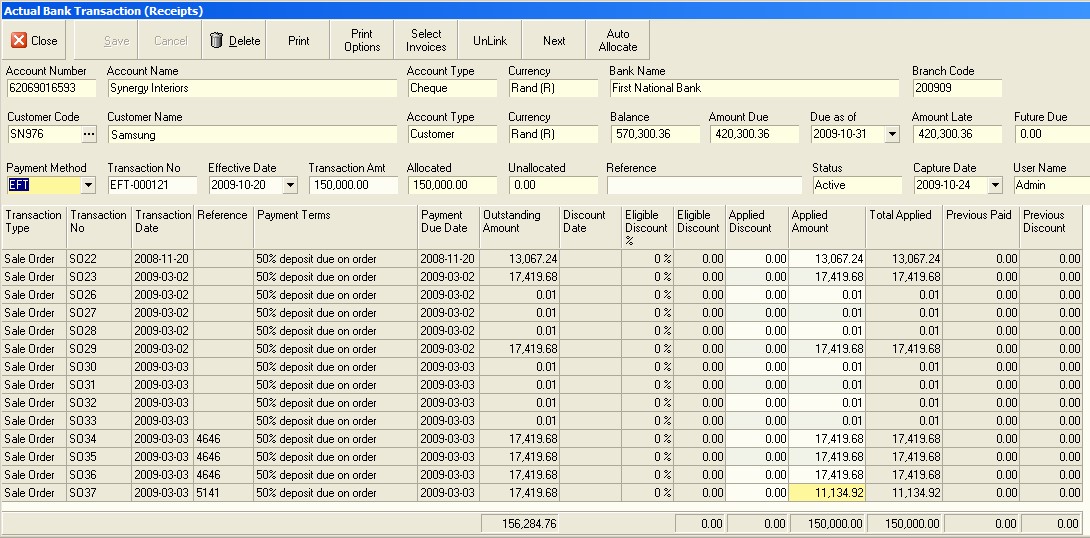
You will notice that if you select more transactions / instalments to which to allocate the payments being processed and then select Auto Allocate and Save the system will only link the instalments to which a portion of the payment has been linked. Any transactions that have not had any funds allocated will be removed from the screen when you return to the screen and view or edit the detail of the transaction.
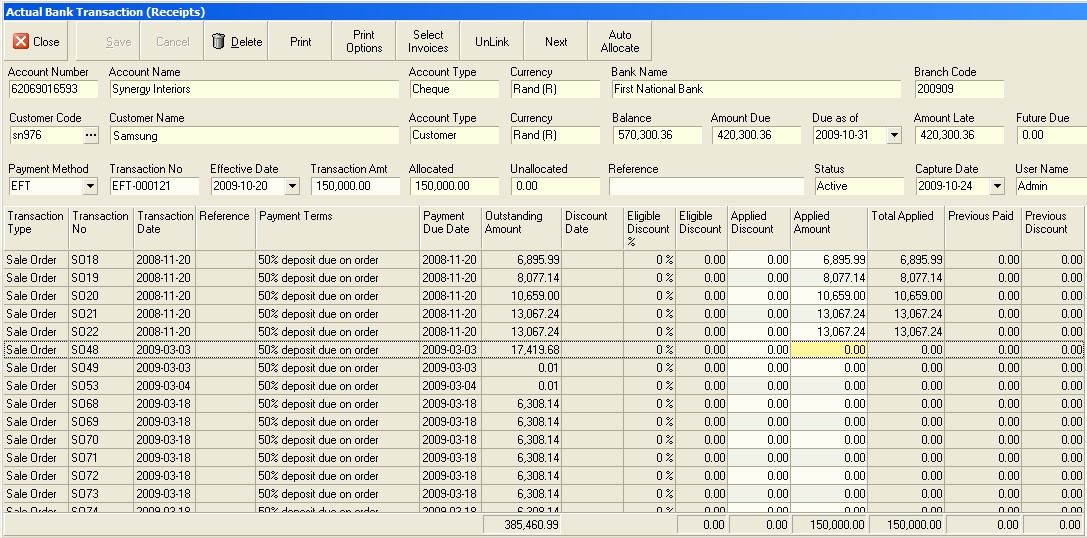
- On re-opening this screen for a specific payment the system only show the instalments that have payments allocated linking them fully or partially.
-
In effect this allows you to process payments to suppliers and receipts from customers more quickly because you do not need to select the invoices being paid one by one. You can simply assume that transactions being paid are being paid in order from oldest due to most recent due and if you select transactions for more than the total being processed and choose auto allocate, the system will discard any transactions you have selected that are due after the final transaction to which payment has been allocated.
-
Once you have completed allocating the payment to the selected invoices click the Save button.
-
Click the Close button on the form bar once you have allocated the available amount to open instalments.
The system will return you to the Auto Allocate Payments screen.
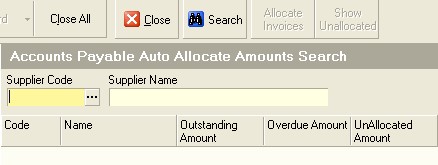
18. Click the Search button and if you have allocated the full available
amount, the supplier's name will be removed from the list.
Repeat the above steps until all payments have been allocated.
This is the end of the procedure.