Add Or Adjust Clock Events (SAF-738)
Procedure Guideline
Add Clock Event
Once the Calendar Rules have been set-up you can beginning logging Time and Attendance events. This can be done through an electronic clocking device linked to Sense-i OR it can be done in Sense-i directly.
To do it in Sense-i...
-
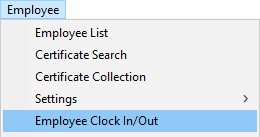
Select Employee on the Main Menu.
-
Click Employee Clock In/Out on the drop-down menu.
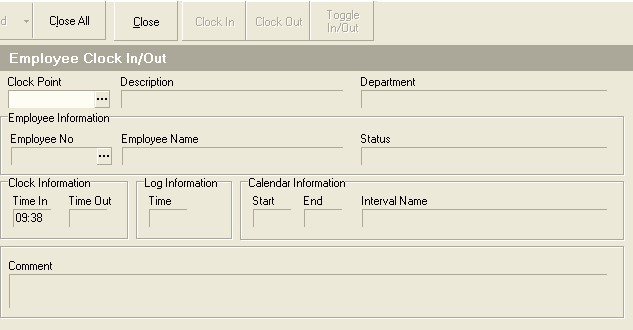
The system will open a screen titled Employee Clock In/Out. This screen enables you to manually add clock in and clock out records for any employee in the company's database.
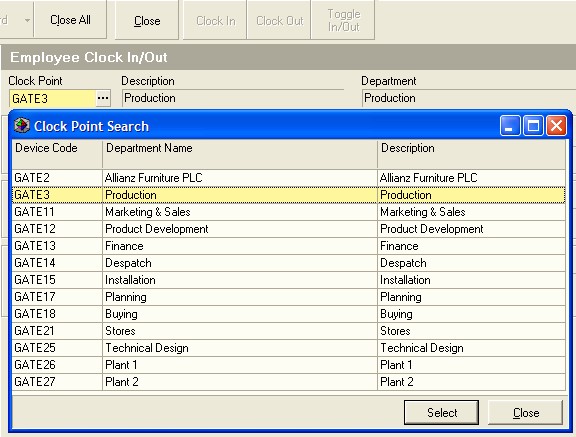
The system requires that you enter or select the clock point for a clock event.
- Simply select this from the list of clock points that have been defined for your company. Once you have clicked on the appropriate clock device, click the Select button at the bottom of the screen.
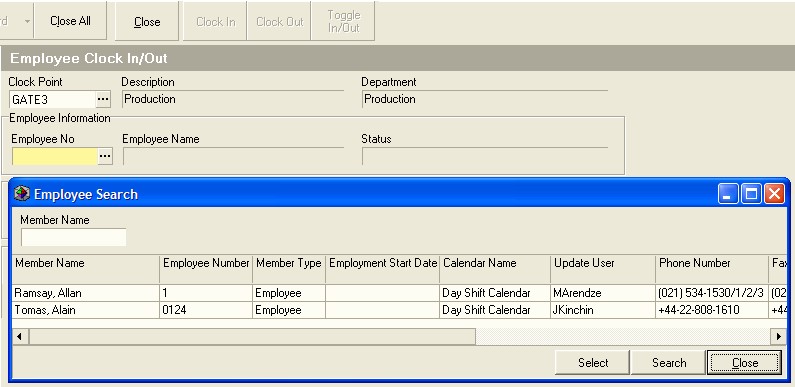
The system requires that you select an employee from the company's database of employees.
- You can either type the Employee No in the **Employee No **field and the system will display the name of the Employee linked to the number you have entered, or you can simply select the name of the Employee from the drop-down list.
If the list of employees is very long, you can type a portion of the employee's name in the Employee Name field, click the search button and the select the appropriate employee from the list of employees displayed by the system.
Once you have selected the appropriate employee, the system will return you to the Employee Clock In/Out screen.
- Enter the time you wish to assign to the Clock Event in the Time In or Time Out field.
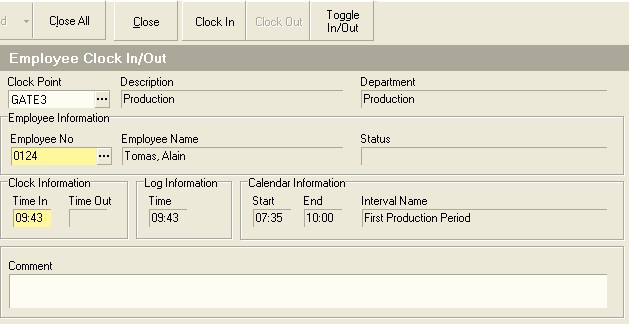
- To save the entry, click either the Clock In or Clock Out button on the
form bar.
You can switch between the two by clicking the Toggle In/Out button.
This is the end of this procedure.